
Last updated September 10, 2026
Full 25-point door and opener safety check with every visit - springs, cables, rollers, tracks, and your LiftMaster or Chamberlain opener included
You get a price before we start. It does not change when the truck arrives.


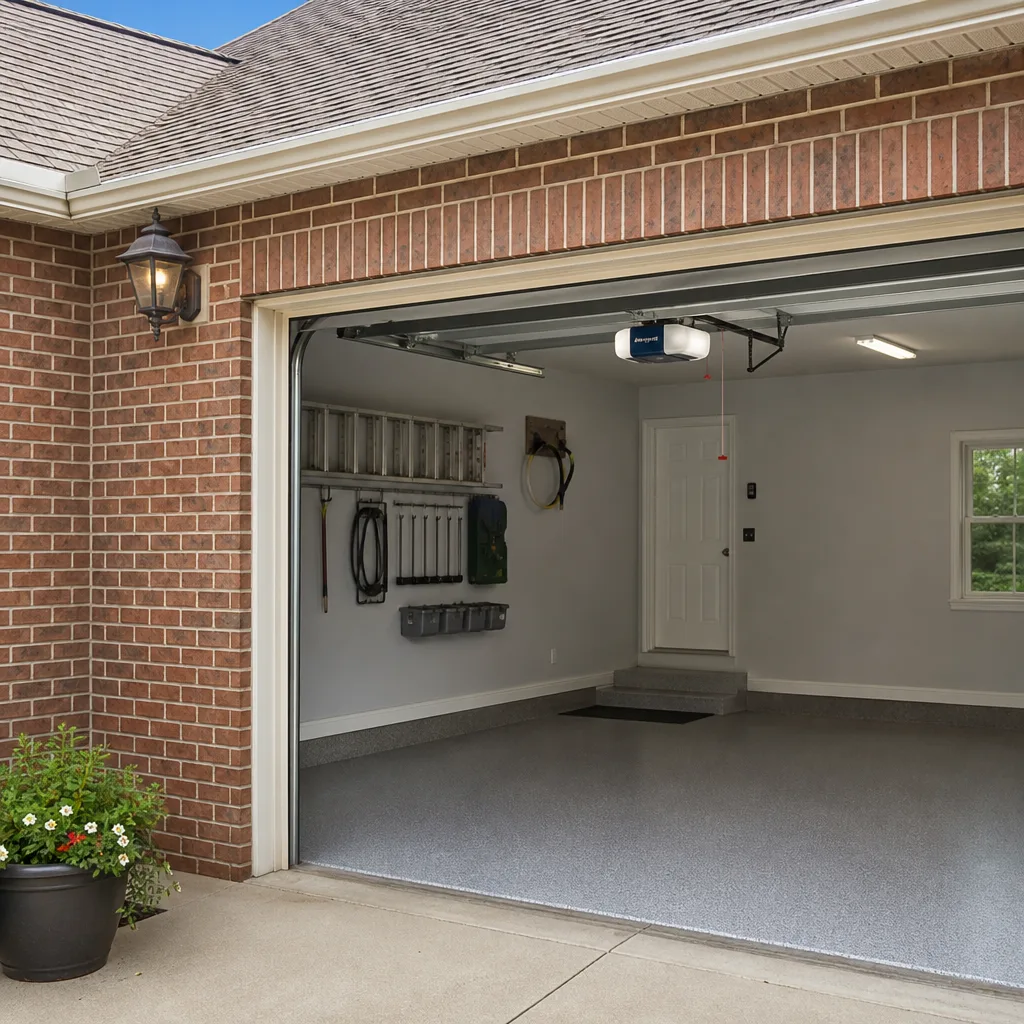
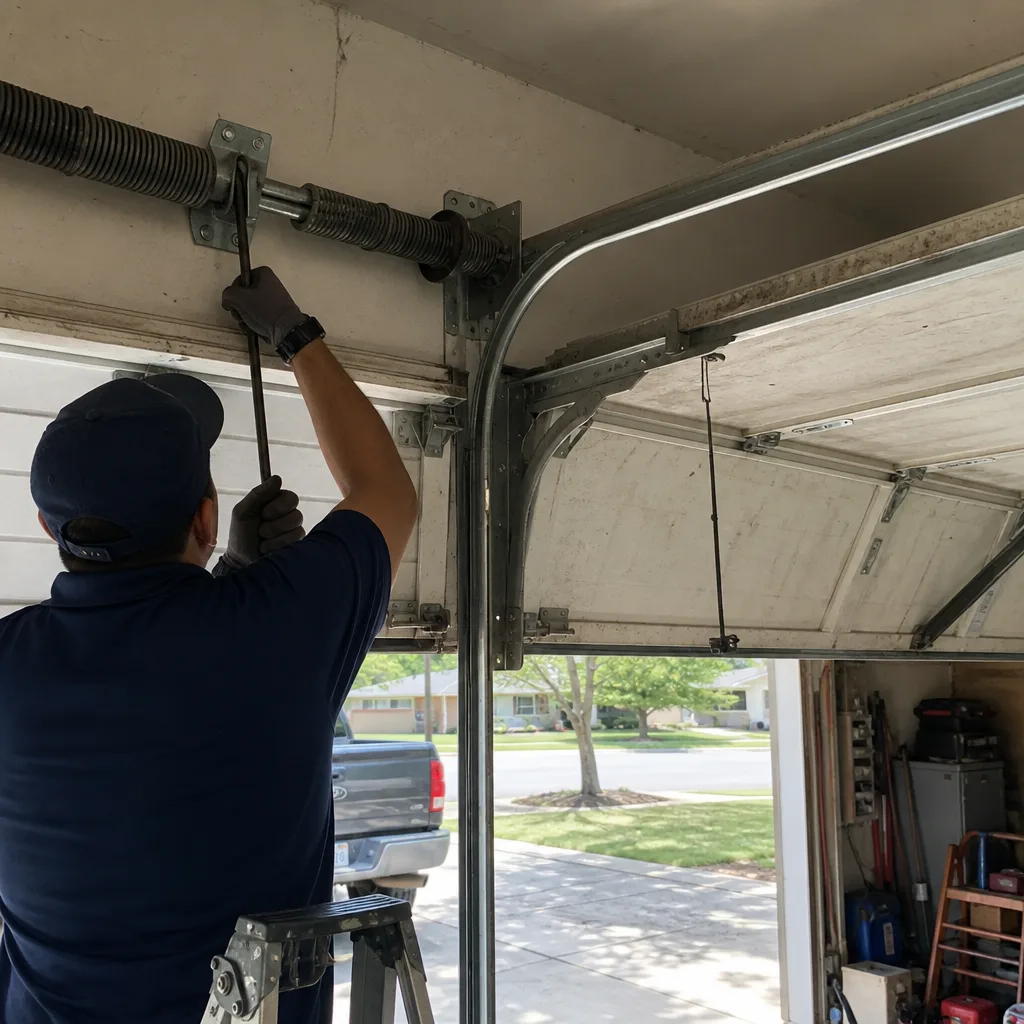 Before
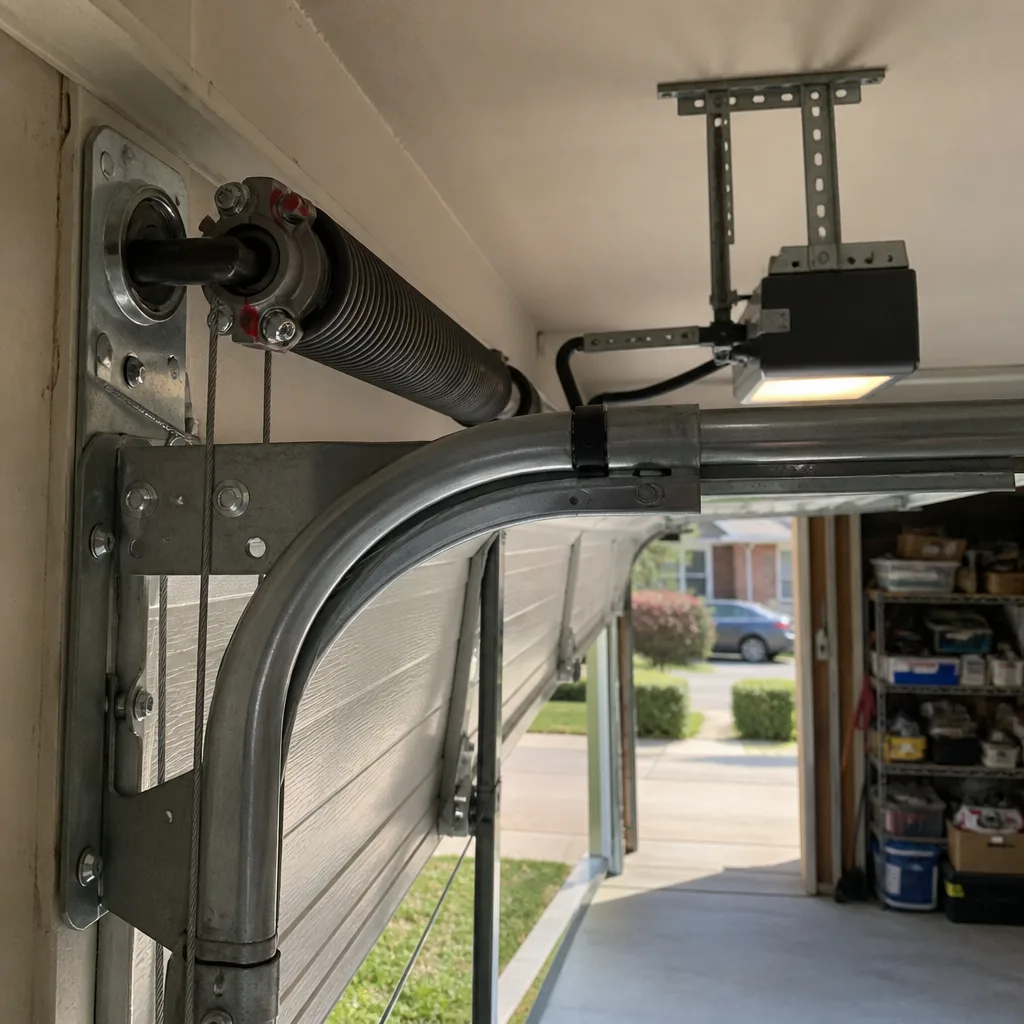 After
After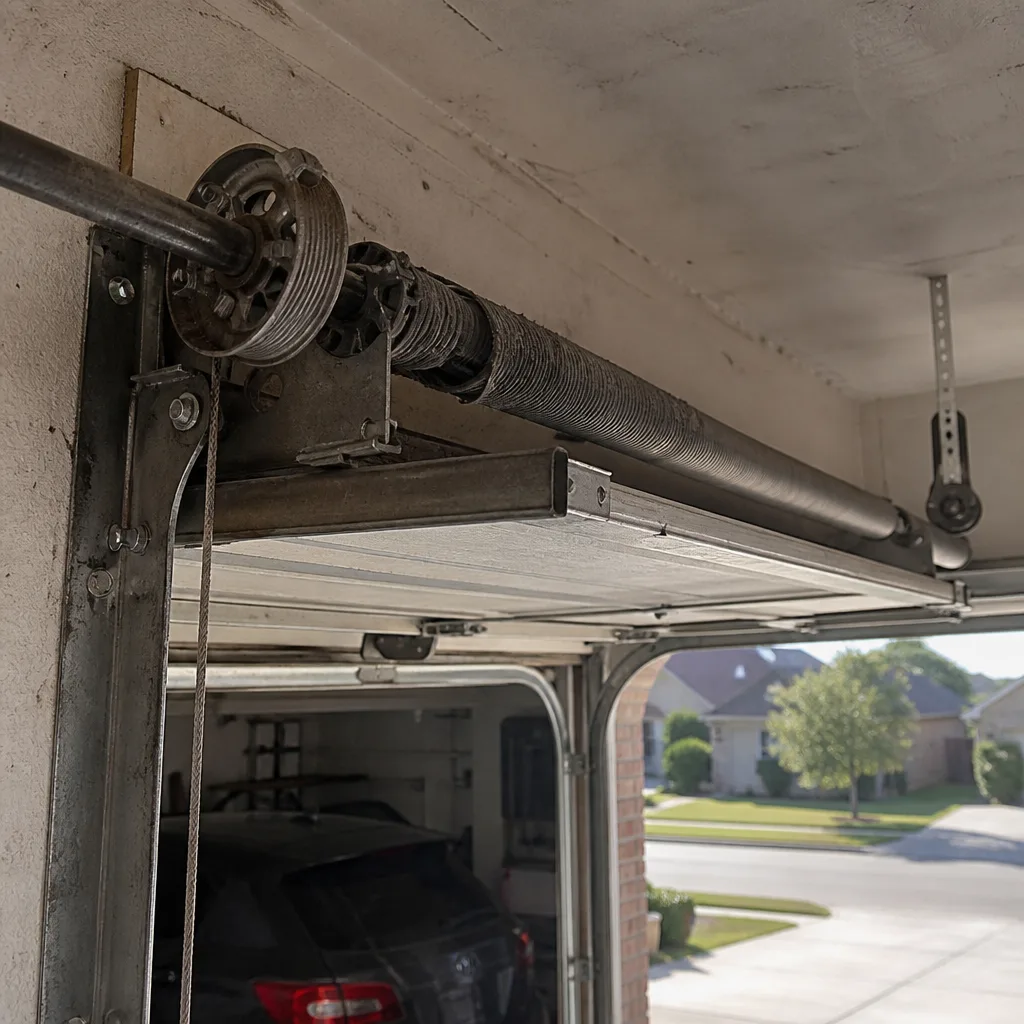 Before
 After
After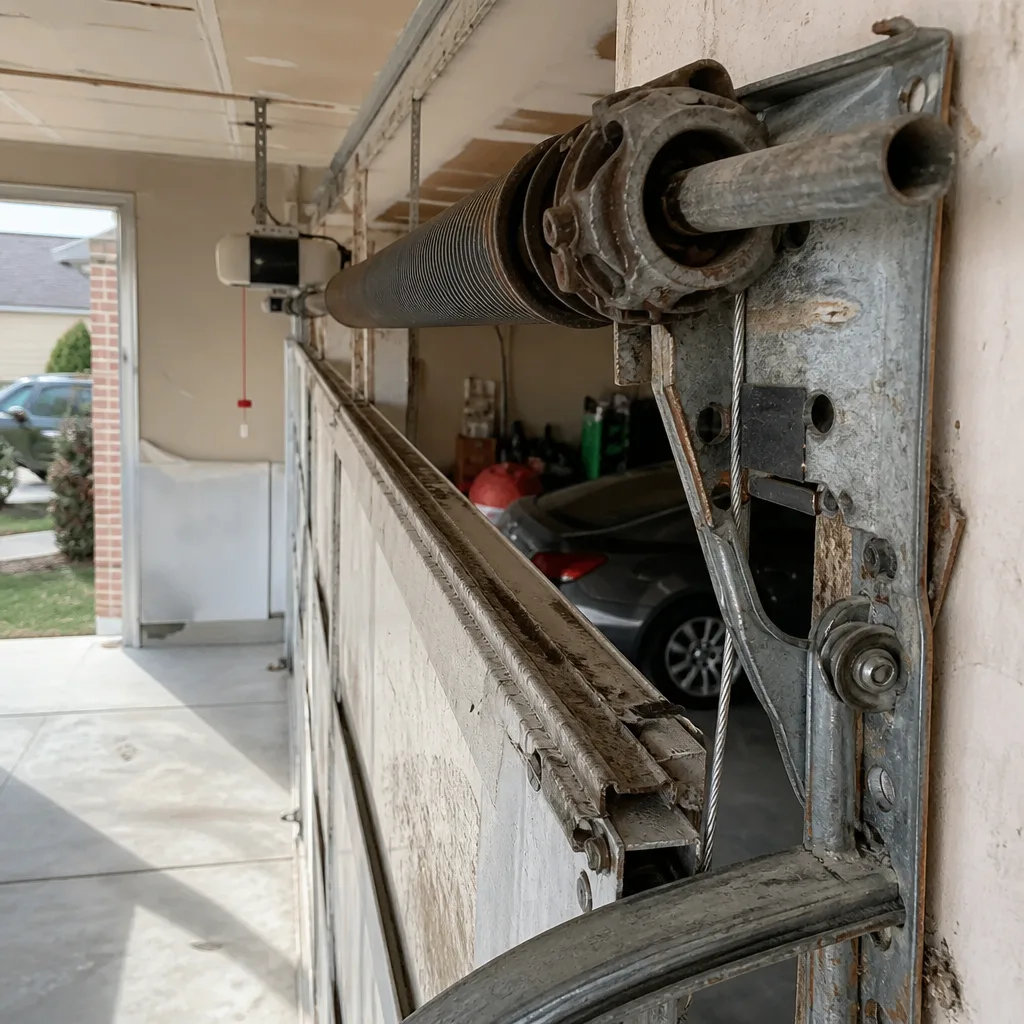 Before
 After
AfterDIY vs Professional Garage Door: The McKinney Homeowner’s Decision Guide
Roughly 1,700 people end up in an American emergency room every year because a garage door spring let go while they were holding the wrong tool. They weren’t foolish people. Most of them had watched a video, bought a pair of winding bars at the hardware store, and figured the job looked straightforward enough. The spring simply doesn’t care how capable you are. What follows is the straight answer on which garage door tasks a McKinney homeowner can safely handle on a Saturday morning, which ones need a pro, and why the line between the two is drawn exactly where it is, not where the internet tells you it is.
Quick Answer
Most McKinney homeowners can safely handle lubrication, weatherstripping replacement, sensor cleaning and realignment, and minor track adjustments with basic tools and about an hour of time. Torsion spring replacement, cable work, and full panel replacement should always go to a trained professional because those jobs involve stored mechanical energy or weight loads that can seriously injure you in the second something slips. The honest answer isn’t “never do it yourself” - it’s knowing which side of that line the job sits on before you touch anything.
Table of Contents
- The Safe DIY List: Four Jobs You Can Definitely Handle
- The Hard Stop List: Three Jobs That Deserve a Pro
- The Real Cost Comparison: DIY Parts vs Professional Repair
- Why McKinney’s Summer Heat Changes the DIY Math
- What We See After a DIY Job Goes Wrong
- The Tool Problem: Why Most DIY Failures Start Before the First Turn
- Common Mistakes to Avoid
- When to Call a Professional
The Safe DIY List: Four Jobs You Can Definitely Handle
Let’s start with what you can do. These four tasks account for a large share of the service calls we get in McKinney, and every one of them is something a careful homeowner can knock out with tools that are probably already in the garage. None of them involve touching a spring or supporting the door’s weight. That’s the common thread: if the task is about cleaning, lubricating, sealing, or aiming, it’s yours. If it’s about lifting, tensioning, or releasing stored energy, it’s not.
1. Lubricating the Moving Parts
A dry garage door is a loud garage door. The rollers, hinges, and the torsion spring itself all benefit from lubrication twice a year - once in spring and once in the fall works well for Collin County’s climate. Here’s the exact method that works without making a mess or attracting every dust particle in North Texas:
- Disconnect the opener by pulling the red release handle. This lets you move the door by hand so you’re not fighting the motor while you work.
- Wipe down each hinge and the roller stems with a clean rag to remove old grease and grime buildup.
- Apply a white lithium grease to the hinges and roller stems. Spray the torsion spring coils lightly with the same grease. Avoid the roller wheels themselves - they’re sealed bearings on most newer doors and lubrication just turns them into dust magnets.
- Lift and lower the door by hand three or four times to work the lubricant through the parts.
- Reconnect the opener and run a full cycle to check the sound.
What you shouldn’t use: WD-40. It’s a solvent, not a lubricant. It’ll clean the metal for about a week, then the squeak comes back louder. Use a proper garage door lubricant or white lithium grease, both of which run about $7 to $12 at any McKinney hardware store.
2. Replacing Weatherstripping
The rubber strip along the bottom of the door cracks and flattens over time, especially after a few Texas summers where the concrete threshold bakes at 130-plus degrees. Replacement takes about 20 minutes. The old strip pulls out of the retainer channel on most doors - grab it with pliers and slide it free. The new strip slides back into the same channel. Cut it to length with a utility knife, and do it in warm weather or bring the strip inside for an hour first. Cold rubber fights you the whole way. A new bottom seal runs $15 to $30 at any McKinney hardware store and keeps dust, bugs, and the occasional June rainstorm from blowing under the door.
The side and top weatherstripping, called stop molding, also takes nails or screws and about half an hour per side. If the door’s not sealing flush against the opening, this is nearly always the fix, not an adjustment to the door itself.
3. Realigning the Safety Sensors
When the opener refuses to close and the lights on the motor unit blink, the photo eyes near the bottom of the track are out of alignment or blocked. This is the single most common opener issue we hear about, and it’s a five-minute fix. Here’s the sequence:
- Check both sensors for spider webs, grass clippings, or a stray bicycle fender in the beam path. Clean the lenses with a dry cloth.
- Look for the small indicator lights on each sensor. One should glow solid on each side. If one is dark or flickering, the wiring to that sensor may have come loose - typically a single wingnut to tighten.
- Loosen the mounting nut on the sensor bracket, aim the sensor roughly at its partner across the opening, and wait until the indicator light goes solid.
- Tighten the nut and test the door. If it still reverses, gently nudge the sensor up or down a fraction of an inch until the light stays solid.
This is the kind of job that takes longer to describe than to do. The sensors don’t carry dangerous voltage and they don’t bear any of the door’s weight. If both lights are solid and the door still won’t close, that points to the logic board in the opener, and that’s when you call someone.
4. Minor Track and Hardware Adjustments
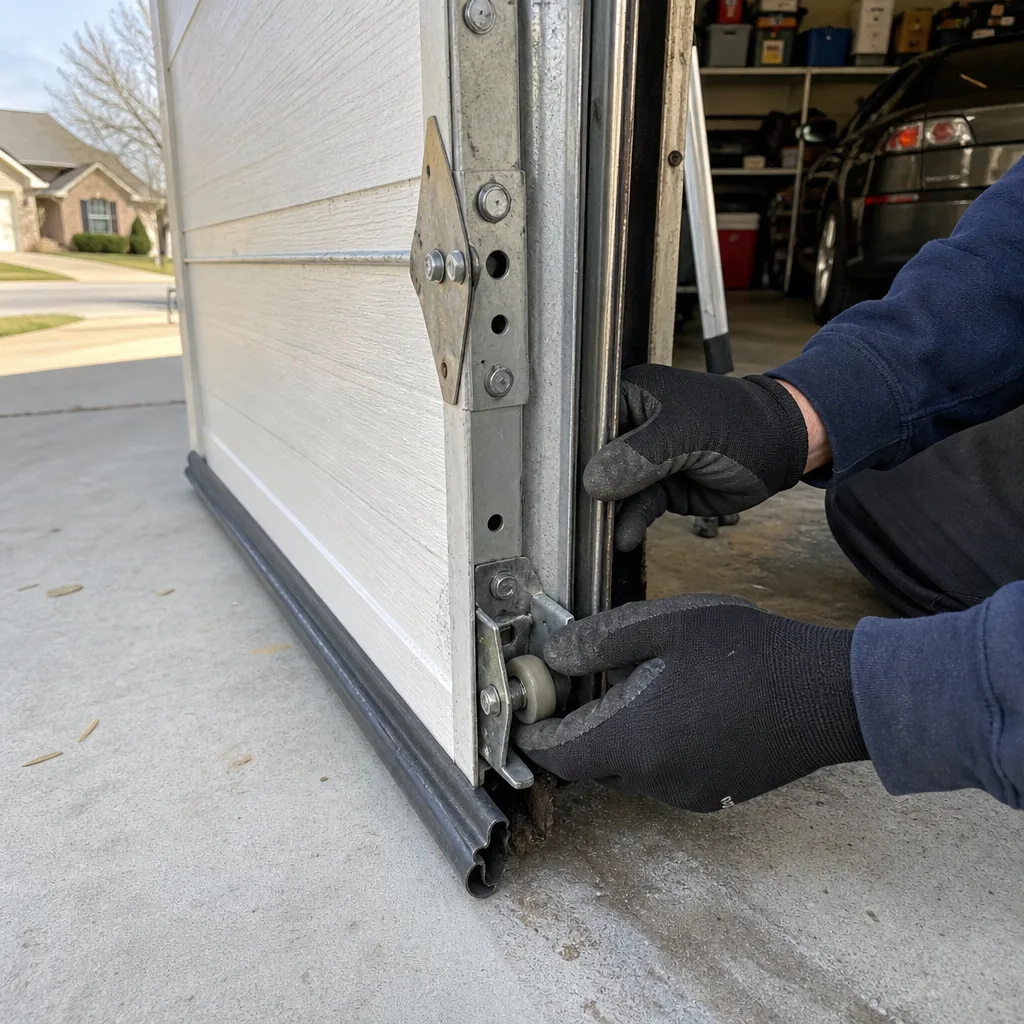
The vertical tracks on each side of the door can work loose over time. You’ll hear a rattle as the door moves, or the rollers will bind at a certain point in the travel. A quick walk around with a 7/16-inch socket and a level solves most of it. Tighten any loose bolts where the track brackets attach to the wall. Check the vertical track plumb with a level. If the track flares out at the bottom or the door hesitates at the same spot every time, loosen the bracket bolts just enough to nudge the track back to plumb, then re-tighten.
The key safety note here: never loosen or adjust the horizontal track or the curved transition pieces. Those are connected to the cable and spring system, and the wall-side horizontal tracks carry the door’s weight when it’s open. The vertical tracks are safe to adjust because the door isn’t hanging on them - it’s resting on the ground. If the hesitation is in the curved or horizontal section, put the wrench down and call someone who works with the spring system every week.
The Hard Stop List: Three Jobs That Deserve a Pro
Now the other side of the line. These three tasks send more do-it-yourselfers to urgent care and leave more garages half-disassembled than all other door work combined. Each one crosses the line for a specific mechanical reason, and understanding that reason matters more than any tool list.
1. Torsion Spring Replacement
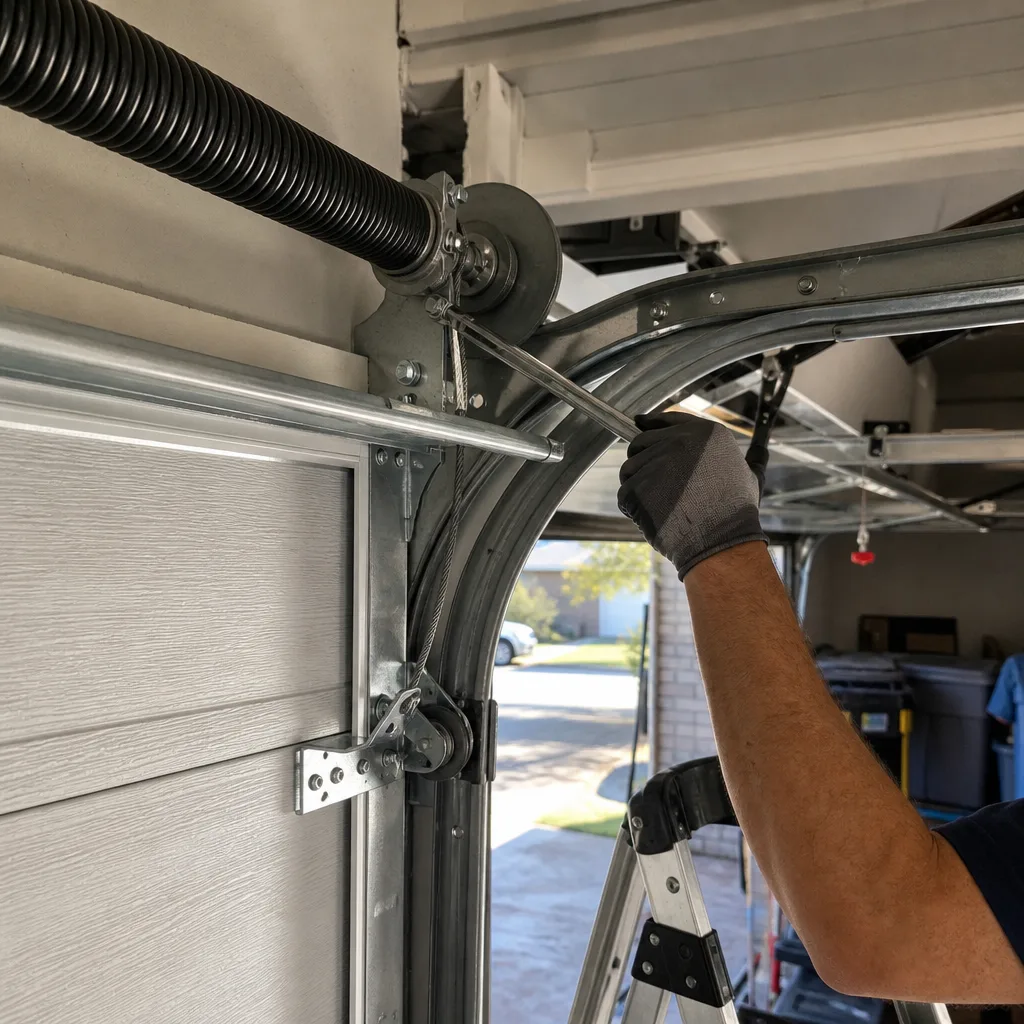
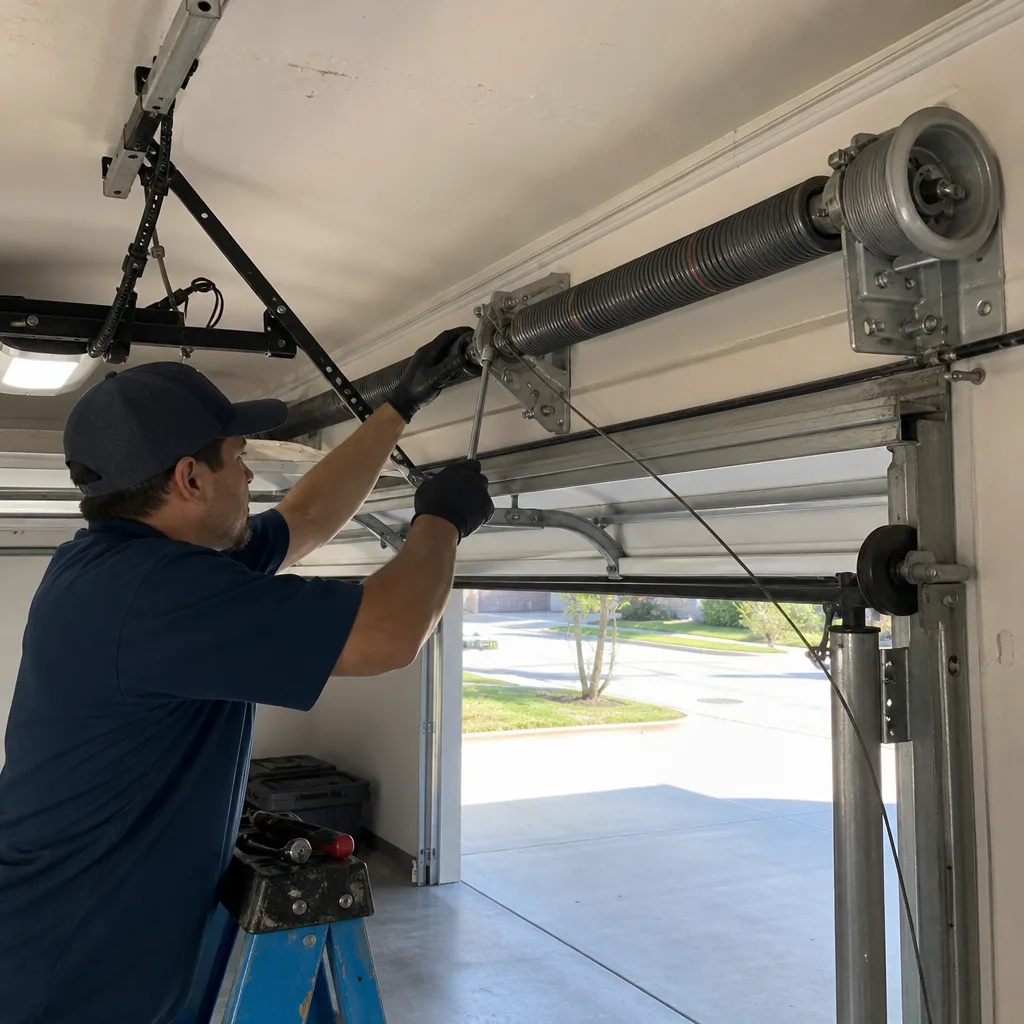
A standard residential torsion spring holds between 100 and 150 foot-pounds of stored energy when wound. When it breaks, it releases that energy instantly. When a homeowner tries to wind a new one with a screwdriver or a piece of rebar instead of purpose-made winding bars, the spring slips off the cone and the bar turns into a projectile. This is the exact mechanism behind most of those 1,700 ER visits. A proper winding bar is a half-inch solid steel rod that seats into the winding cone before you apply tension. Hardware stores don’t stock them, which is why so many people improvise with a tool that isn’t long enough to seat properly.
Beyond the immediate safety issue, there’s the matter of sizing. Springs are rated by wire gauge, inside diameter, and length, and a spring that’s off by even one wire size changes the door’s balance. An over-sprung door jerks upward and doesn’t want to come down; an under-sprung door strains the opener and fails six months early. In our experience across McKinney, we’ve replaced springs that homeowners installed themselves and they usually fail unevenly - one side carries the load because the gauges didn’t match, and the door runs crooked from week one. The right spring costs $40 to $80 wholesale, which means the parts markup on a pro repair isn’t as much as you’d think. The value is in the winding and the calibration.
2. Cable Replacement
The lift cables run from the bottom brackets, up around the drums, and anchor to the torsion shaft. When one snaps, the door doesn’t just stop working - the remaining cable yanks the door sharply to one side, and if the door is open when it fails, the whole panel can drop. Replacing a cable requires releasing tension from the spring system first, then re-tensioning everything in the correct sequence. That’s the same stored-energy situation as a spring job, with the added complication that you’re working at the point where the cable’s tension is transferred through the drum.
The mechanical reason this crosses the line: cable work isn’t a single-step task. It’s a system reset. You’re not replacing a part - you’re un-cabling the door, taking tension off the spring, threading new cable, re-seating the drums, re-tensioning the spring, and then re-checking balance. Miss any one of those and you’ll hear about it when the cable jumps the drum at 11 p.m. Or when the door comes off one side of the track while your wife’s SUV is halfway out. Both are common enough that we keep a running mental list of the addresses in McKinney where we’ve fixed them.
3. Full Door Panel Replacement
This one’s tempting because it looks like a big furniture assembly project. It’s not. A standard 16-by-7-foot garage door weighs between 150 and 300 pounds depending on the material. The panels aren’t light, they have to align exactly with each other and the track system, and the bottom panel anchors the lift cables. Get the bottom panel replacement wrong and you’ve now introduced tension irregularities into the spring system. Get the top panel wrong and the door binds on the way up because the section geometry is off by half an inch. We have picked up more than one door section off a McKinney driveway where the homeowner got two-thirds of the way through and realized the sections don’t match the hinge spacing on their existing hardware. Those panels aren’t returnable once they’re scratched, and the freight cost on a single panel often eats any savings from doing it yourself.
The reason this crosses the line: the door is a single balanced system, not a stack of independent parts. You can’t replace one panel without affecting the balance, the cables, the tracks, and the spring. It’s a whole-door job wearing a one-part disguise.
The Real Cost Comparison: DIY Parts vs Professional Repair
Let’s run the actual numbers for a torsion spring replacement in McKinney, because this is where the DIY-versus-pro decision usually gets made - and where the math often misleads people.
Here’s the honest breakdown for a typical single-spring setup on a standard 16-by-7 door:
- DIY parts cost: $45 to $80 for a matched spring pair, plus $20 to $40 for the right winding bars if you can find them locally. Most McKinney big-box stores don’t stock garage door torsion springs at all, which means an online order and two to five days of waiting. So you’re into it for $65 to $120 before you’ve touched the door.
- Professional repair cost in McKinney: $180 to $340 depending on spring size and whether it’s single or double spring. That includes the spring, the winding, the balance check, and the warranty.
The spread looks like a real savings on paper. What the parts-only number doesn’t include is the second trip to the hardware store when the spring you guessed is the wrong wire gauge, the three days when the door is down and the car is stuck inside, the cost of fixing the damage when a winding bar slips and dents the door or breaks a finger, or replacing the opener motor after a mismatched spring burns it out in eight months. We have seen every one of those in McKinney. Some of them in the same year, on the same house.
The other number that doesn’t show up on the parts receipt: a professional spring job includes a balance test after the spring is wound. If the door drifts up or down when released at half-travel, the fix is immediate, not a week later when the opener starts groaning. The price is quoted before the work starts and we hold that number, which is the only way this kind of work should ever be priced.
Why McKinney’s Summer Heat Changes the DIY Math
There’s a version of this guide that gets written for a mild-climate city where a garage stays under 80 degrees all summer. This isn’t that guide. McKinney’s July and August afternoons turn an attached garage into a 110-degree metal box by 3 p.m., and that changes nearly every DIY calculation.
First, the heat affects the parts. Extension and torsion springs don’t care about temperature until you try to work with them. Tracks expand slightly in the heat, rollers get gummy as old grease thins out, and weatherstripping gets so soft it tears if you pull too hard. An adjustment that’s mechanically straightforward at 8 a.m. on a 70-degree morning becomes a sweaty, frustrating fight at 4 p.m. when the door itself is radiating heat and you’re tired from holding a level over your head. In our experience, most Saturday-afternoon DIY door projects in McKinney get abandoned halfway through for exactly this reason - not because the homeowner isn’t capable, but because the working conditions turned a one-hour job into a three-hour slog.
Second, there’s a safety angle. Dehydration and heat exhaustion make you sloppy, and sloppy is dangerous when you’re working with 200 pounds of door or winding a spring. If you’re going to do the safe-DIY tasks yourself, do them early in the morning or after the sun drops behind the fence line. The door doesn’t know what time it is. You do, and you’ll make better decisions when you’re not lightheaded.
Third, the heat moves the failure pattern. We see more snapped springs in McKinney from June through September than any other stretch. The heat cycling - hot days, cooler garage nights with the AC running - puts thermal stress on older springs. That’s not a reason to avoid DIY on the safe list. It is a reason to pay attention when the door starts feeling heavier in early summer.
What We See After a DIY Job Goes Wrong
The call usually starts the same way: the door went sideways, or it slammed, or it’s stuck halfway and the car is trapped inside. In 29 years of doing this work across Collin County, three failure patterns account for most of the DIY aftermaths we walk into.
Pattern 1: The Improvised Winding Bar Score
This one leaves a distinctive mark - a gouge or dent in the door or the drywall ceiling where a screwdriver or a piece of rebar went flying when the spring slipped. The damage pattern tells the story clearly: a conical scratch on the winding cone where the wrong tool didn’t seat, a rotational gouge on the door panel, and a homeowner who is now done trying. The repair usually requires removing the half-wound spring, inspecting the cone for damage, and starting over with proper bars. Occasionally the slip bends the torsion tube itself, which doubles the cost of what started as a $70 spring.
Pattern 2: The Mismatched Spring
The door opens, but it doesn’t feel right. It jumps on the way up, or it strains on the way down, or the opener works twice as hard as it used to. When we pull the spring, we find a wire gauge that doesn’t match the door’s weight rating. Sometimes it’s the wrong spring entirely - an extension spring where a torsion spring belongs, or a spring rated for a lighter door. The outcome is usually a door that balances at exactly one point in its travel and fights the opener everywhere else. The correction is a new spring properly sized to the door, and sometimes a new opener motor if the mismatch ran long enough to strip the drive gear.
Pattern 3: The Spring That Wasn’t the Problem
This one costs the homeowner double through no fault of the parts. The door wouldn’t lift, so they replaced the spring - and the door still won’t lift. The real culprit was a bent track, a broken cable, or a failed bearing in the torsion tube, and the spring was a symptom, not the cause. By the time we arrive, the homeowner has spent $80 on parts, a full Saturday, and the door still doesn’t work. A proper diagnosis before buying parts would have caught it in ten minutes. This is the single best argument for paying a pro to look at the door first, even if you plan to do the work yourself. The diagnosis is the part that saves you money.
Every one of these patterns has a McKinney address attached to it. We don’t list them to embarrass anyone - the point is that these are the predictable outcomes, and they follow a specific sequence. The common thread is that the failure happened not because the homeowner was incapable, but because the information they were working from skipped the parts that matter.
The Tool Problem: Why Most DIY Failures Start Before the First Turn
The biggest secret of garage door work isn’t skill - it’s tooling. The right tools turn a dangerous job into a controlled procedure. The wrong tools turn a controlled job into a video that ends with a trip to the ER.
For torsion spring work, the only tool that’s safe is a pair of solid, half-inch winding bars made from hardened steel. They have to be long enough to seat fully into the winding cone - typically 18 inches or more. A screwdriver, a pry bar, an Allen wrench, or a piece of rebar all share the same fatal flaw: they’re either too narrow to fill the cone’s winding slots, or they’re too short to give you control, or they bend when the spring’s torque hits them. When a winding bar slips out of a wound spring, the spring unwinds through whatever is in its path. That’s the 1,700-person ER statistic in mechanical form.
Then there’s the second tool that nobody tells you about: a way to test the door’s balance. A professional checks a spring installation by lifting the door to half-travel and letting go. A correctly balanced door stays put. An incorrectly tensioned one drifts. The test takes thirty seconds and requires no tools at all - but it requires knowing to do it. If you don’t know about the test, you won’t catch the problem until the opener starts screaming or the door falls. The difference between a pro installation and a homeowner installation is often not the spring itself. It’s the ten minutes of verification after the spring is installed.
For the safe-DIY list, the tool requirements are modest. A 7/16-inch socket set, a level, a rag, white lithium grease, and a utility knife will cover lubrication, weatherstripping, sensor alignment, and track tightening. None of those tools will hurt you if they slip. That’s the real dividing line: do you need a hardened steel rod designed by a spring manufacturer to do the job safely? If yes, the job is pro territory.
If you’re a Raynor, LiftMaster, Chamberlain, or Genie opener owner in McKinney, the brand doesn’t change this equation. The spring doesn’t care which opener you have. The physics are identical whether the motor hangs from the ceiling or the wall.
Common Mistakes to Avoid
- Using the wrong lubricant on the spring. WD-40 and penetrating oils strip the protective coating and leave bare metal that rusts within a season. Use white lithium grease or a garage-door-specific lubricant. A rusted spring has roughly half the service life of a clean one.
- Loosening the wrong bolts to adjust the track. The vertical track bolts near the floor can be adjusted safely, but the ones on the curved and horizontal sections belong to the cable and spring system. Turning them without releasing spring tension loads the cables unevenly and can pull the door off its rollers.
- Replacing a spring without checking the door’s balance afterward. The ten-minute balance test is the difference between a job that holds up for ten years and a door that eats an opener motor in six months. Skip it and the spring might be technically installed but incorrectly tensioned.
- Attempting DIY work on a door with metal fatigue, rust, or visible cable fraying. Evidence of structural degradation changes the risk profile of any door work. A rusted tension spring is unpredictable under load, and the safest move is replacement, not adjustment - a job for a licensed pro, not a weekend project.
- Doing it in the middle of a McKinney August afternoon. The heat alone will tank your focus and your patience. Early morning or after sundown is when the work gets done right.
- Assuming the spring is the problem when the door won’t lift. A door that’s heavy, crooked, or binding often points to the track, the cables, or a bearing, not the spring. Diagnose before you buy parts. It’s cheaper, every time.
- Not checking the balance after any adjustment, not just spring work. Even a small track adjustment changes how the door sits and moves. Run the door through a full cycle and release it at half-travel after any work. If it drifts, something’s off.
When to Call a Professional
If the job involves the spring, the cable, or full panel replacement, call someone who does this work every week. That’s not gatekeeping - it’s the honest boundary between the tasks that are safe with household tools and the ones that require purpose-built equipment, trained hands, and ten minutes of verification most homeowners have never been taught to do. You should also call a pro if you’ve already started a job and the door is now stuck open, stuck closed, or running crooked - partial disassembly is more dangerous than a clean untouched door. Otto’s Garage Door offers free estimates in McKinney, and a live person answers the phone when you call (945) 777-4688. We quote on the call and hold the number when we show up.
For the rest of your garage door needs, start with our Otto’s Garage Door home page to see how we operate, or read more about Garage Door Repair in McKinney, Garage Door Installation in McKinney, and Garage Door Opener in McKinney for specifics on what each service covers and what it costs.
Frequently Asked Questions
You can, but you shouldn’t. A torsion spring holds 100 to 150 foot-pounds of stored energy when wound, and the tools required to wind one safely - solid half-inch hardened steel winding bars - are not sold at most McKinney hardware stores. The wrong tool slips, the spring releases that energy through the bar, and the result is a serious hand or face injury. The matched spring pair costs $45 to $80 online, and a professional repair in McKinney runs $180 to $340 including the parts, the winding, the balance check, and the warranty. That spread is not worth the risk. Call (945) 777-4688 and we’ll quote it on the phone.
Lubricating the rollers, hinges, and spring with white lithium grease is safe and takes about 20 minutes. Replacing the bottom weatherstripping, side stop molding, and threshold seal is another accessible job. Cleaning and realigning the photo eye sensors is a five-minute fix that requires no special tools. Tightening loose bolts on the vertical track sections and checking them with a level is safe as long as you stay off the curved and horizontal sections. Everything on this list shares the same trait: none of it involves the spring, the cables, or supporting the door’s weight. For anything beyond these, call us at (945) 777-4688 - the estimate is free.
Torsion spring replacement in McKinney typically runs $180 to $340 depending on the spring size and whether it’s a single or double spring setup. Cable replacement ranges from $150 to $300 because it involves de-tensioning and re-tensioning the full spring system. Opener logic board or sensor issues can run $100 to $250. Every job is quoted before any work starts, and the price quoted on the phone is the price you pay at the door. We don’t do surprise add-ons, and we’ll tell you if a repair isn’t worth doing. Call (945) 777-4688 for a free estimate on your specific door.
The heat. A steel spring cycles through thermal expansion and contraction every day when a hot McKinney afternoon gives way to a cooler overnight garage. Over years of those cycles, the metal develops microscopic fatigue and eventually snaps. The hotter the summer, the more spring failures we see, which is why June through September is the busiest spring season here. If your door is getting harder to lift or the opener sounds strained, don’t wait for the spring to fail with the car inside. Call (945) 777-4688 and we’ll check the balance and spring condition.
Yes, we carry the most common torsion and extension springs, cables, roller sets, hinges, sensors, and remotes for the brands you’re likely to have - LiftMaster, Chamberlain, Genie, and Raynor included. For less common parts, we can typically source them same week from our local suppliers. That means most repairs are completed in a single visit, not a diagnosis trip followed by a parts-waiting trip. Call (945) 777-4688 and tell us what you’re seeing - nine times out of ten we know the part you need before we hang up.
No. The price we quote on the phone is the price you pay when the work is done, as long as the work described matches the work needed. Gas stations don’t quote you one price and bill you another, and neither do we. If there’s something else wrong with the door that wasn’t visible from your description, we’ll show you what we found and give you a new price before we touch it. You can always take a second look at our repair process or check our installation work before you decide. The number on the invoice will never surprise you.
The Bottom Line
The line between DIY and professional garage door work isn’t drawn by skill level. It’s drawn by the energy stored in the parts. Lubrication, weatherstripping, sensor alignment, and minor track tightening are safe, accessible, and worth doing yourself. Spring replacement, cable work, and full panel replacement put you in the path of a 200-pound door and a wound spring with 150 foot-pounds of stored energy. The parts savings don’t survive a single bad afternoon. When you’re close to that line and not sure which side you’re on, check out our opener repair resources or call a pro who will tell you the truth about the job. In McKinney, that’s (945) 777-4688. We’ll answer, we’ll quote, and we’ll hold the number.
Written by Otto Reinhardt, Owner at Otto’s Garage Door, serving McKinney since 2004.